As a nail technician or enthusiast building your portfolio, showcasing your skills and creativity through captivating nail pictures is essential. High-quality, well-composed photographs can help attract clients, demonstrate your expertise, and leave a lasting impression. In this blog post, we will explore some tips and tricks to capture perfect nail pictures for your portfolio.
Lighting is Key
Good lighting is crucial for capturing the details and true colors of your nail designs. Natural daylight is often the best option for achieving accurate and well-balanced colors. Position your subject near a window or shoot outdoors on a cloudy day to create soft and diffused lighting. Avoid harsh overhead lighting or direct sunlight, as it can create shadows or unwanted reflections.
Invest in a Macro Lens:
To showcase intricate nail details, invest in a macro lens for your camera or smartphone. A macro lens allows you to capture close-up shots with exceptional clarity and sharpness. It’s worth the investment, as it can significantly enhance the quality of your nail pictures and make your designs more appealing to potential clients.
Clean and Tidy Nails:
Before taking any pictures, ensure that the nails are clean, neatly shaped, and free from any smudges or imperfections. Pay attention to cuticle care, ensuring they are pushed back and moisturized. Additionally, tidy up any stray polish or debris around the nails to create a polished and professional look.
Consider Background and Composition:
Choose a simple and uncluttered background to ensure the focus remains on the nails. A plain white or neutral background works well, allowing your nail designs to stand out. Experiment with different angles and compositions, such as close-ups, diagonal shots, or capturing the nails from different perspectives to add variety to your portfolio.
Showcasing Different Styles and Techniques:
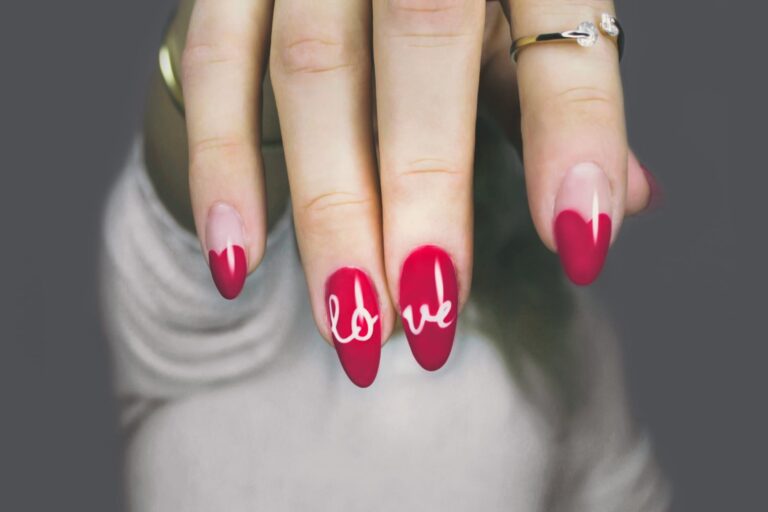
Include a diverse range of nail designs in your portfolio to showcase your versatility and creativity. Experiment with different nail shapes, colors, patterns, and techniques. This will demonstrate your ability to cater to various client preferences and showcase the breadth of your skillset.
Editing and Enhancing:
Post-processing is a valuable tool for enhancing your nail pictures. Use photo editing software or apps to adjust brightness, contrast, and color balance to ensure your images accurately represent your work. Be mindful not to over-edit or alter the nail design itself; the goal is to enhance the photo while retaining the authenticity of your creations.
Conclusion
By following these tips, you can capture stunning nail pictures that will make an impact in your portfolio. Remember to prioritize lighting, invest in a macro lens, and pay attention to clean and tidy nails. Consider background and composition, showcase different styles, and utilize editing tools to enhance your images. With well-crafted nail pictures, you’ll be able to showcase your talent effectively and leave a lasting impression on potential clients. Happy photographing!